RADIUS Authentication
This authentication method is available only for AD accounts.
ADSelfService Plus' RADIUS Authentication enables organizations to leverage their existing RADIUS infrastructure within ADSelfService Plus to provide centralized authentication for MFA and self-service workflows.
Feature overview
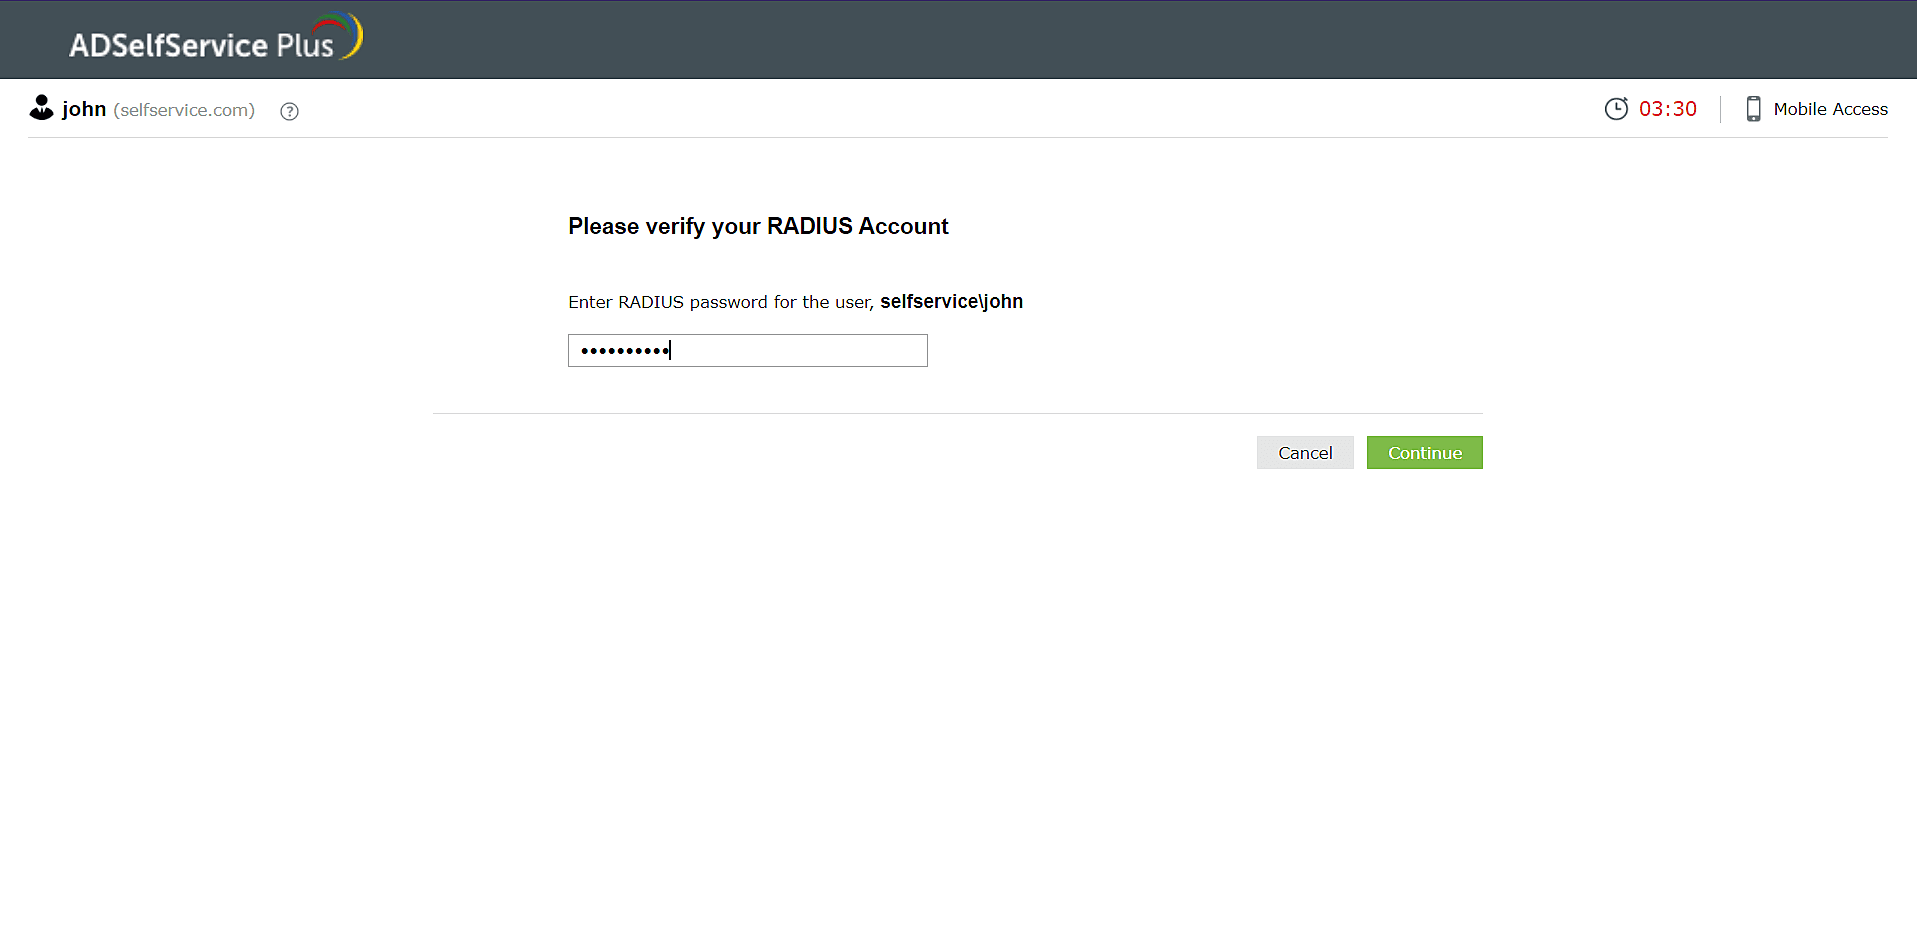
When RADIUS Authentication is enabled, users will be considered enrolled and can authenticate themselves by producing a valid RADIUS password and completing the RADIUS challenge, if configured.
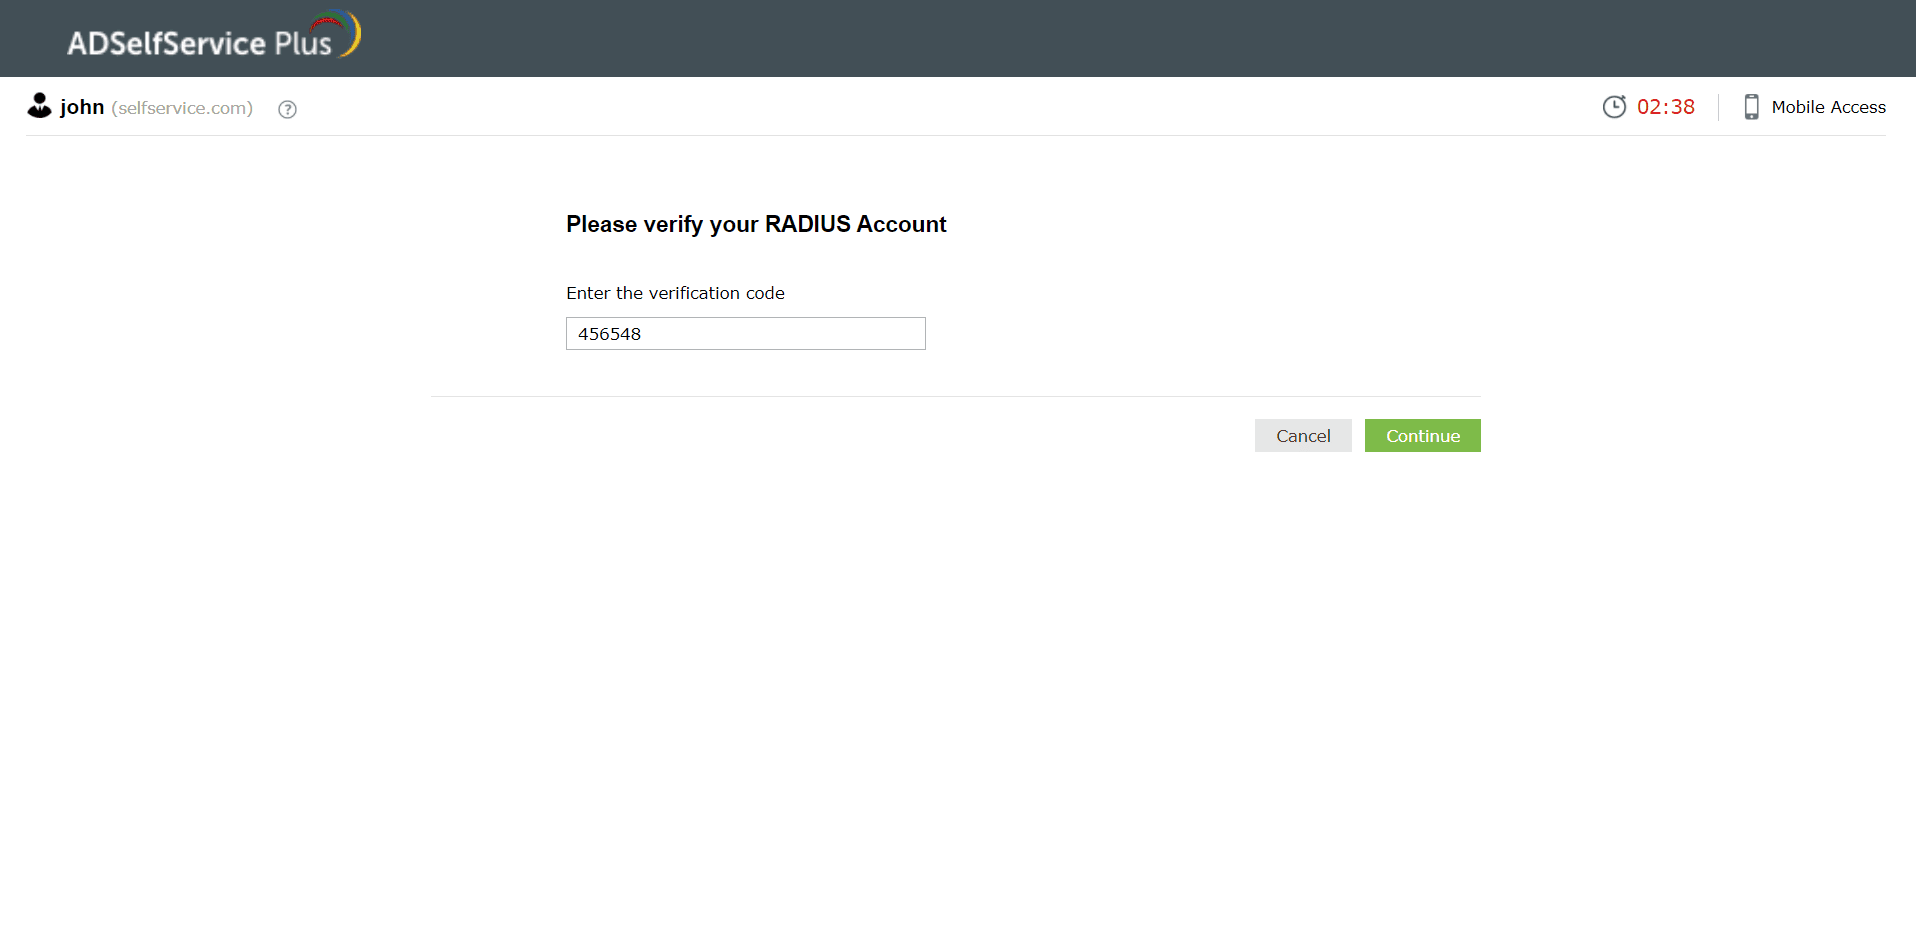
What is the RADIUS challenge?
The RADIUS challenge is introduced when secondary authentication is set up on the RADIUS server alongside standard password authentication. After configuration, users must enter both a RADIUS password and either a one-time passcode or a secret key (depending on admin-defined settings) to complete identity verification.
Configuring RADIUS Authentication in ADSelfService Plus
Configuring RADIUS Authentication involves a two-step process: first, on your RADIUS server where you define ADSelfService Plus as a RADIUS client and generate a shared secret; and second, in the ADSelfService Plus admin console where you input the server connection details and configure authentication parameters.
Prerequisite
Configure a RADIUS client in the RADIUS server for ADSelfService Plus using configuration steps specific to the RADIUS server.
For example, to configure a RADIUS client in freeRADIUS:
- Log in to the RADIUS server.
- Navigate to the clients.conf file (default location: /etc/raddb/clients.conf).
- Add the following snippet in the clients.conf file:
client <xyz>
{
ipaddr = <xxx.xxx.xxx.xxx>
secret = <abc>
nastype = other
}
where,
<xyz> refers to the ADSelfService Plus server name.
<xxx.xxx.xxx.xxx> refers to the ADSelfService Plus server's IP address. and, <abc> refers to the secret key value created by the admin. - Restart the RADIUS server.
Configuration steps
- Navigate to Configuration > Self Service > Multi-Factor Authentication > Authenticators Setup.
- From the Choose the Policy drop-down, select a policy.
Note: ADSelfService Plus allows you to create OU and group-based policies. To create a policy, go to Configuration > Self-Service > Policy Configuration > Add New Policy. Click Select OUs/Groups, and make the selection based on your requirements. You need to select at least one self-service feature. Finally, click Save Policy.
- Click RADIUS Authentication section.
- Enter the Server Name, Server Port number, Server Protocol, Secret Key, Username Pattern, and the Request Time Out seconds.
Important: The Username Pattern is case-sensitive.
- Click Save.
