YubiKey Authenticator
ADSelfService Plus supports the YubiKey 5 series, YubiKey 5 FIPS series, and YubiKey 5 CSPN series, using the Yubico OTP protocol for authentication. When YubiKey Authenticator is enabled, users authenticate first with their AD domain credentials, then with the one-time passcode (OTP) generated by their YubiKey device.
How it works
When a user reaches the YubiKey authentication step, they are prompted to insert their YubiKey and tap it to generate an OTP. ADSelfService Plus sends the OTP to the Yubico validation servers for verification. If the OTP is valid, the user is authenticated and can proceed with their self-service operation.
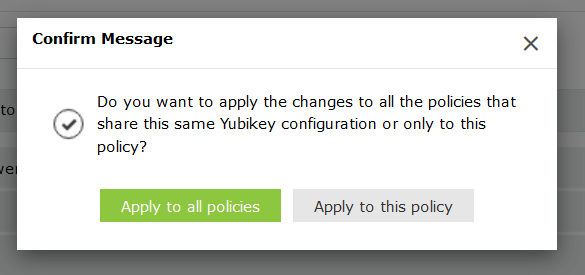
Multiple YubiKey Authenticator configurations can be maintained for different users based on their domain, group, or OU membership, or a single configuration can be applied to all users.
Prerequisites
1. Firewall configuration
The following outbound connections must be permitted through the firewall for OTP validation to reach the Yubico servers:
- https://api.yubico.com/wsapi/2.0/verify
- https://api2.yubico.com/wsapi/2.0/verify
- https://api3.yubico.com/wsapi/2.0/verify
- https://api4.yubico.com/wsapi/2.0/verify
- https://api5.yubico.com/wsapi/2.0/verify
2. Obtaining the Client ID and Secret Key
- Go to https://upgrade.yubico.com/getapikey.
- Enter your email address.
- Connect a YubiKey to your workstation or server and tap it to enter the YubiKey OTP.
- Select I've read and accepted the Terms and Conditions and click Get API Key.
- Copy the Client ID and Secret Key displayed. You will need both during configuration.
Configuration instructions
- Log in to the ADSelfService Plus portal with administrator credentials.
- Go to Configuration > Self-Service > Multi-factor Authentication > Authenticators Setup.
- From the Choose the Policy drop-down, select the policy you want to configure.
- Click the YubiKey Authenticator section to expand it.
- Enter the Client ID and Secret Key obtained in the prerequisites.

- Click Save.
Tips
- Before enabling YubiKey Authenticator for a policy, confirm that all five Yubico validation URLs are reachable from the ADSelfService Plus server. A blocked outbound connection will cause all YubiKey OTP validations to fail silently — users will receive an authentication error with no clear indication of the cause.
- The Client ID and Secret Key are tied to the email address used during registration at upgrade.yubico.com. Keep a record of both values in a secure location — if lost, a new API key must be generated, which requires re-configuration in ADSelfService Plus.
- Use per-policy configurations to apply YubiKey Authenticator only to user groups where physical hardware tokens are available. Applying it globally to users who have not been issued a YubiKey will lock them out of self-service operations.