Locked-Out Users Report
The Locked-Out Users Report helps administrators quickly identify ADSelfService Plus user accounts that have been locked-out due to exceeding the incorrect login attempt threshold defined in the domain policy. This report provides a centralized view of all locked-out accounts, enabling timely remediation to restore user productivity and investigate potential security threats.
How it works
When a user's account is blocked, the system automatically logs this event, capturing key details such as the timestamp, the number of failed attempts, and the user's last successful login. This data is then aggregated and presented in the Locked-Out Users Report.
Limitation
AD-related reports rely on domain connectivity; outages or replication delays in AD may cause incomplete report data.
Prerequisite
You must have to the ADSelfService Plus portal to generate and view reports.
Generating the Locked-out Users Report
- Log into the ADSelfService Plus portal with administrator or technician privileges.
- Navigate to Reports.
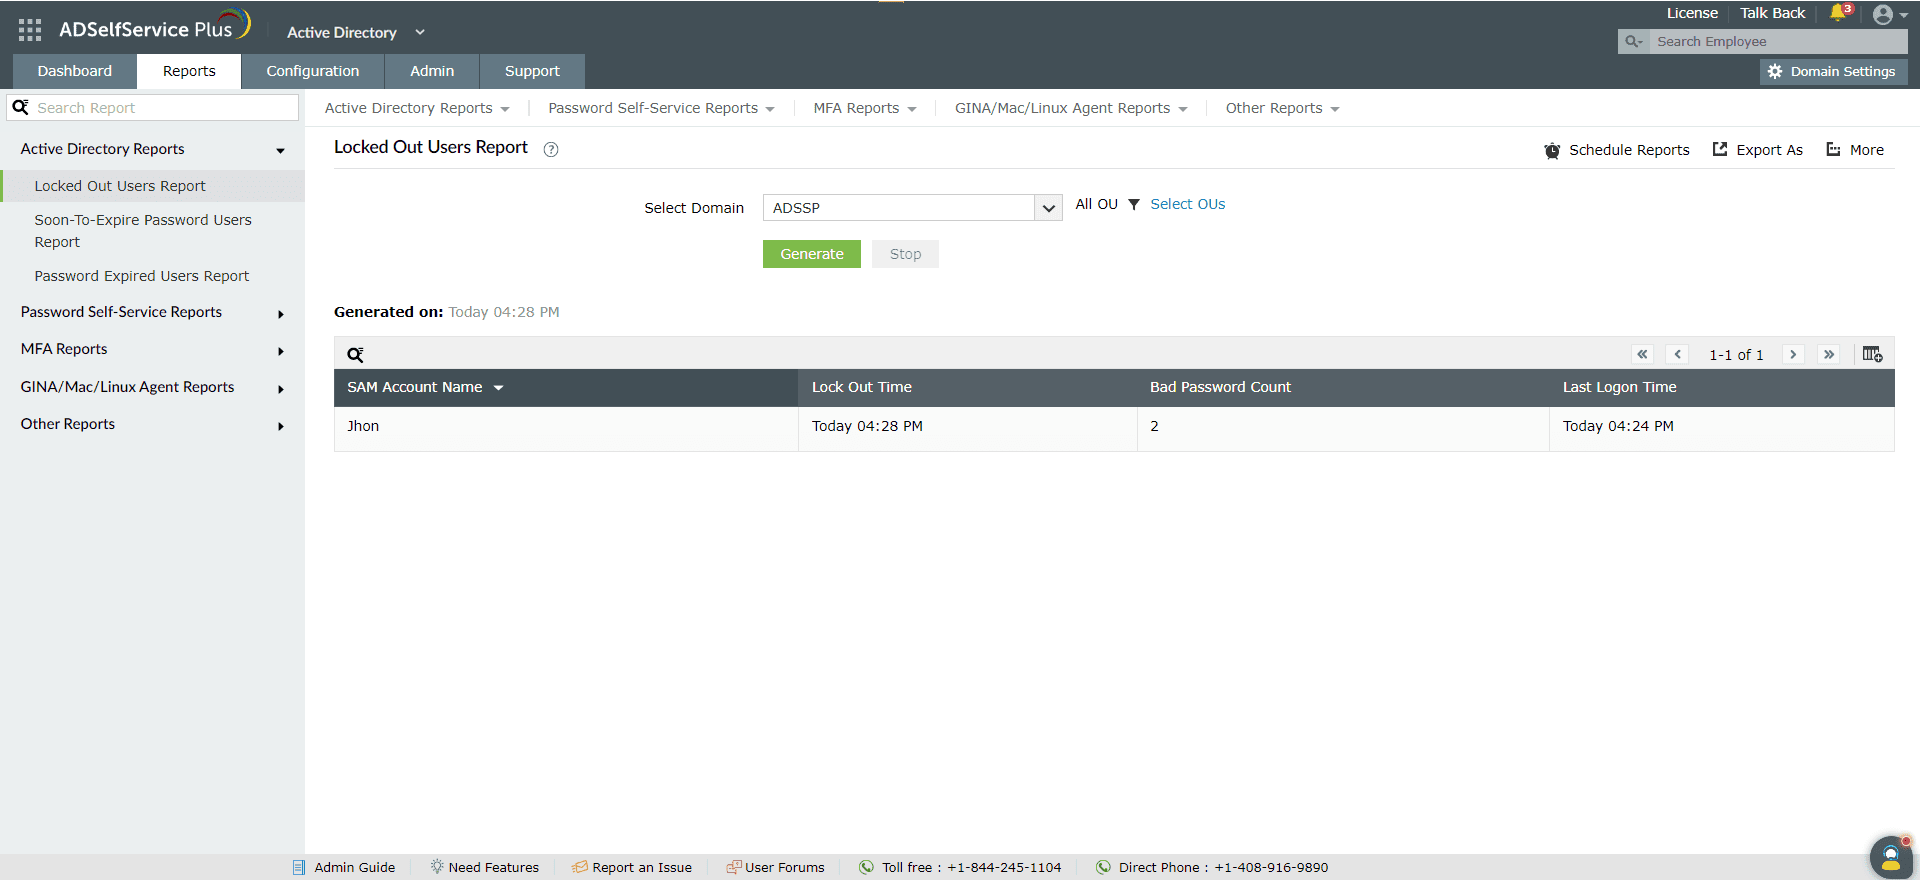
- Click Active Directory Reports > Locked-Out Users Report.
- Specify the target domain using the Select Domain option. To narrow the scope, use the Select OUs option to choose specific OUs.
- Click Generate to create the report.
Customizing the Locked-Out Users Report
- Adding or removing columns: To add or remove columns, click on the Add/Remove Columns [
 ] option at the far right of the report. In the Select the columns to be displayed pop-up that appears, select the required fields under Available Columns and click on the right arrow ( >> ) to move it to the Selected Columns. To remove columns, select the unused fields under Selected Columns and click on the left arrow ( << ) to move it to Available Columns.
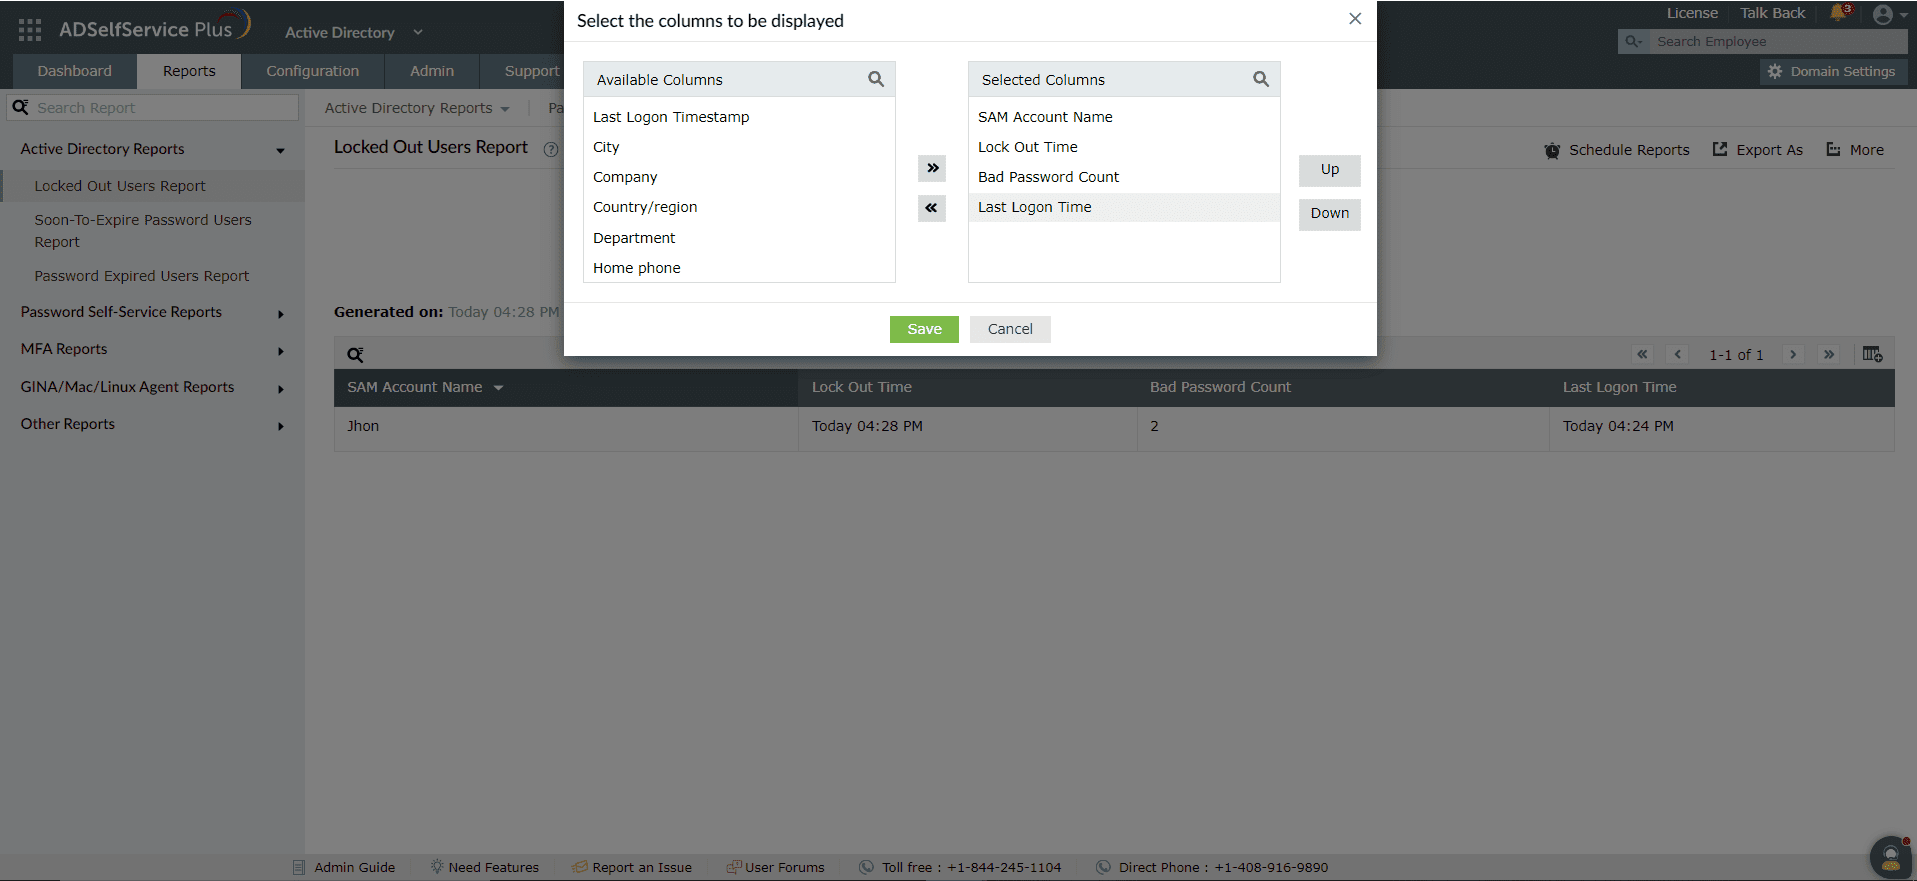
- Ordering the columns: The columns' positions can also be altered by selecting a value under Selected Columns and using the Up and Down options to change its position.
Sorting
Click on any of the column headers to view the report's entries in ascending or descending order.
Searching
- Click on the search icon [
 ] in order to search for specific data in the report.
- Specific users can be searched for using attributes such as their sAMAccountName, or Display Name.
- Searching happens using the criteria ' contains '. For example, if the username column is searched for the word " jack " , then all usernames containing the sequence " jack " will be displayed as a result.
Automating the Locked-out Users Report generation
The Schedule Reports option at the top-right corner of the page can be used to schedule the generation of reports at specified intervals, and automatically email them to administrators or specific email addresses. Learn to schedule reports here.
Exporting the Locked-out Users Report
The Export As option at the top-right corner of the page helps export the report in CSV, PDF, XLS, XLSX, HTML and CSVDE formats.
Tips
- The More option at the to-right corner of the page lists the Printable View, Send Mail, and Export Settings options.
- The Printable View option can be used to preview and print the report.
- The Send Mail option can be used to mail the report to the desired email addresses.
- Additionally, you can configure custom Export Settings, such as a personalized title for the report and a header logo that you may wish to display on each page.
- Add columns such as Last Successful Login and Failed Attempt Count to distinguish between genuine lockouts and potential security threats.
- Pay special attention to accounts with repeated lockouts, as this may indicate brute-force attack attempts.